
Discover the secrets to perfectly oven-roasted chuck roast, a culinary journey that transforms a tough cut of beef into a tender, flavorful masterpiece. In this guide, we’ll explore the optimal cooking times and techniques to ensure your meal emerges from the oven juicy and delectable every time.
Key Takeaway
- For a juicy chuck roast, oven-roast at 325°F (165°C) for approximately 2 to 3 hours, ensuring the chop is covered to retain moisture and achieve optimal tenderness.
- Use a tight seal with foil or a lid to trap the juices and seasonings, enriching the meat’s taste and texture.
Preparation of Chuck Roast
Selecting the best chuck roast for oven cooking begins at your local butcher or grocery store; look for a cut with good marbling, as this fat renders down during cooking, imparting moisture and flavor into the meat.
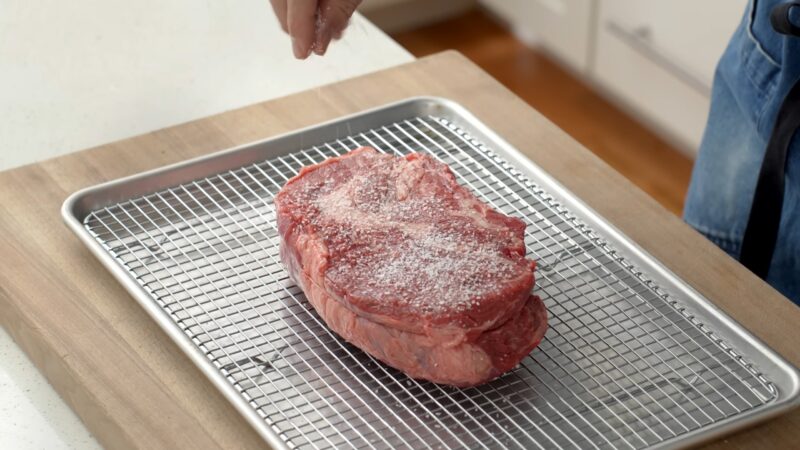
Once you’ve chosen your meat, preparing it properly will enhance its taste and tenderness. Start by trimming any excess fat, though leave some for flavor. Next, season generously with salt, pepper, and any other spices or herbs you prefer to infuse the chop with layers of flavor.
For an even deeper flavor profile, consider marinating the meat for several hours or overnight in the refrigerator. This not only adds taste but also begins the tenderization process, ensuring a succulent and flavorful outcome. Whether you choose a simple rub or a complex marinade, these preparatory steps are crucial in achieving the perfect oven-cooked chop.
Cooking Tools and Equipment

Cooking a chuck roast to perfection requires a few essential tools and pieces of equipment that will help ensure even cooking, proper temperature monitoring, and ease of preparation:
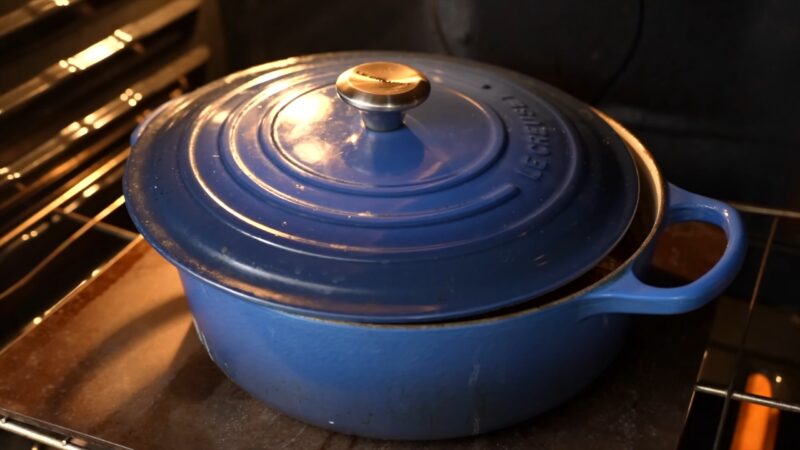
- Roasting Pan or Dutch Oven: A heavy-duty roasting pan with a rack or a sturdy Dutch oven is ideal for cooking meat. These vessels are excellent for even heat distribution and retaining moisture, especially if you’re braising the roast or cooking it with vegetables and broth.
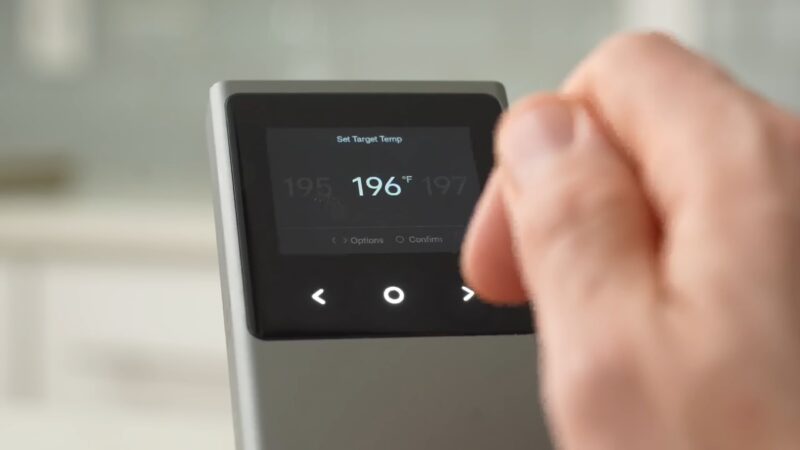
- Meat Thermometer: An oven-safe meat thermometer or an instant-read thermometer is crucial for monitoring the internal temperature of the chop. This ensures that you cook the meat to the desired level of doneness without overcooking it, keeping it tender and juicy.
- Aluminum Foil: Aluminum foil can be used to tend the chop during or after cooking. This helps retain heat and moisture, making the chop more tender and flavorful by allowing it to rest and reabsorb juices.
- Sharp Knives: A set of sharp knives is essential for trimming any excess fat from the chuck before cooking and for carving the chop into slices or portions once it is cooked.
- Cutting Board: A large, sturdy cutting board is necessary for preparing the chop, allowing ample space for trimming, seasoning, and slicing.
- Tongs and Spatula: These are useful for safely turning and handling the meat, especially if you’re browning it on the stove before oven roasting.
- Vegetable Peeler and Knife: If you’re adding vegetables to cook alongside your meat, a peeler, and a good knife will be necessary for peeling and chopping.
- Mixing Bowls: For mixing marinades or seasonings, a set of mixing bowls is handy for preparing your meat before cooking.
Cooking Techniques for a Perfect Chuck Roast
Cooking it in the oven to achieve a moist, tender, and flavorful outcome involves a few key techniques, including searing and braising. Here’s a detailed step-by-step guide:
Preparation
Begin by preheating your oven to 325°F (165°C). This temperature allows for slow, even cooking that tenderizes the chop.
Prepare your chop by trimming excess fat, leaving some for flavor. Season the chop generously with salt, pepper, and any other herbs or spices you prefer. For added depth of flavor, you can marinate the meat for several hours or overnight in the refrigerator.
Searing the Meat
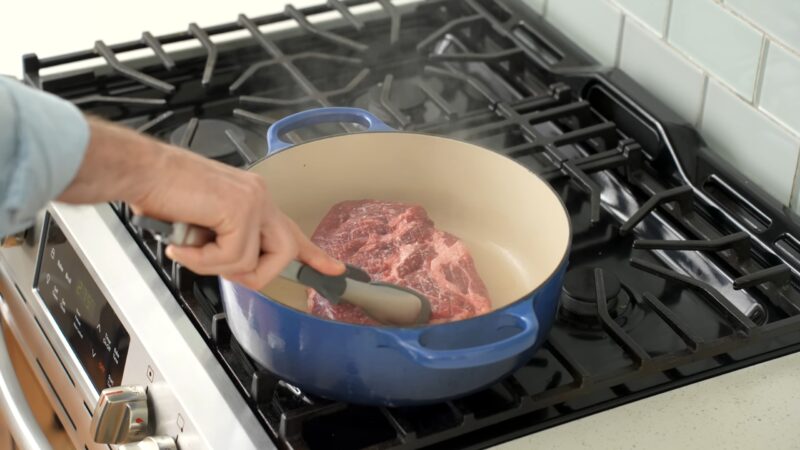
Heat a tablespoon or two of oil in a heavy, oven-proof skillet or Dutch oven over medium-high heat. Once hot, add the chop to the pan.
Sear the meat for about 3-4 minutes on each side, or until it develops a rich, brown crust. Searing locks in flavors and enhances the final dish’s taste.
Braising
After searing, if you use a skillet, transfer the chop to a roasting pan. If you used a Dutch oven, you could keep it in there. Surround the roast with roughly chopped onions, carrots, and potatoes for a complete meal, if desired.
Add liquid to create a moist cooking environment. This can be beef broth, wine, water, or a combination, enough to cover the bottom of the pan about an inch deep. The steam from the liquid helps the meat become tender without drying out.
Cover the pan tightly with a lid or aluminum foil to trap the moisture inside.
Oven Cooking
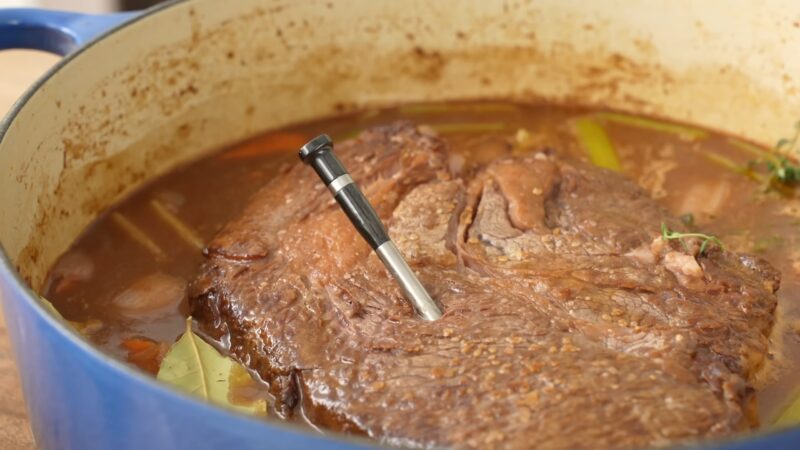
Place the covered roast in the preheated oven. Cook for about 2 to 3 hours, or until it’s tender enough to pull apart with a fork. The exact cooking time will depend on the size of the chop.
Halfway through cooking, you may want to check the liquid level and add more if it’s running low. This ensures the chop remains moist and doesn’t burn.
Tips for a Successful Chuck Roast
By following these steps and tips, you’ll be able to create a deliciously tender and flavorful chuck roast that’s perfect for a comforting meal.
- Enhancing Flavor: Beyond basic salt and pepper, consider incorporating garlic, rosemary, thyme, or bay leaves into your seasoning or braising liquid for added flavor complexity.
- Monitoring Temperature: Using a meat thermometer to check the internal temperature of the chop can help ensure it’s cooked perfectly. For a tender chuck roast, aim for an internal temperature of around 190-195°F (87-90°C) before resting.
- Thickening Gravy: After cooking, you can turn the braising liquid and vegetable mix into a delicious gravy. Simply transfer it to a saucepan, skim off excess fat, and thicken with a flour or cornstarch slurry over medium heat until it reaches your desired consistency.
Resting the Meat After Cooking
Allowing the chunk to rest after cooking is a critical step that significantly impacts its juiciness and flavor. This resting period lets the juices, which have been driven to the center of the meat by the heat of cooking, redistribute throughout the chop.
If you were to carve the roast immediately after taking it out of the oven, those flavorful juices would simply spill out onto the cutting board, leaving the meat drier. By resting, you give the chop time to reabsorb these juices, ensuring each slice is succulent and full of flavor.
The recommended resting time for meat is typically 15-20 minutes, covered loosely with foil to keep it warm. This brief pause not only enhances the eating quality but also makes the roast easier to carve, leading to a more enjoyable dining experience.
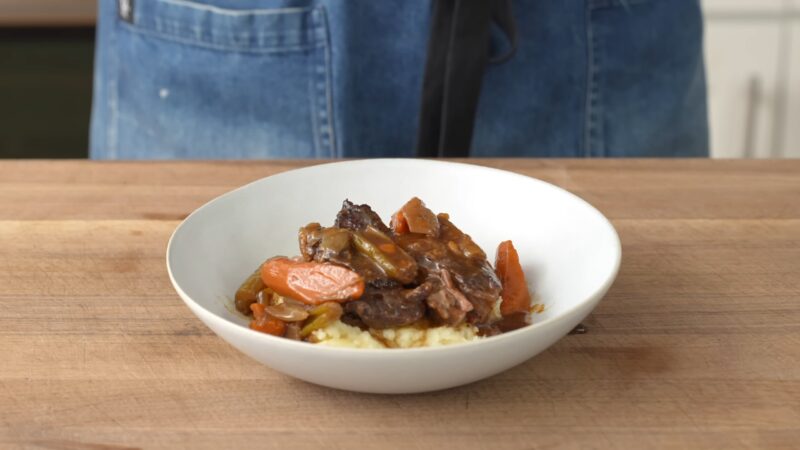
Serving Suggestions
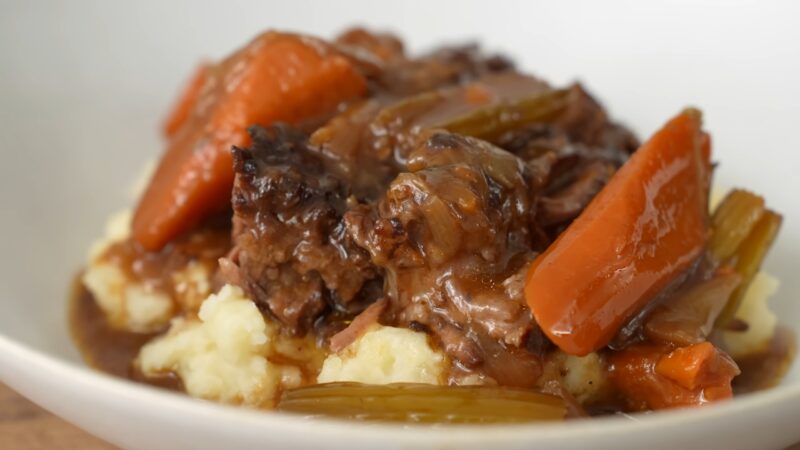
Ideal side dishes that pair well with chuck roast include creamy mashed potatoes, roasted vegetables like carrots, parsnips, and Brussels sprouts, or a simple, crisp green salad to balance the richness of the chop.
For a more rustic touch, consider serving it with crusty bread to soak up the delicious juices. When it comes to carving and presenting the meal, use a sharp knife to slice the grain into thick or thin slices, depending on your preference.
This technique ensures each slice is tender and easy to eat. Arrange the slices neatly on a platter, perhaps garnished with fresh herbs like rosemary or thyme for a pop of color and aroma. Surround the chop with your chosen sides, drizzle with some of the cooking juices or gravy for added flavor, and serve warm.
Common Cooking Mistakes
Encountering issues like tough or dry meat can be disheartening, but there are ways to salvage the meal and still delight your diners. If the roast is too tough, it’s likely undercooked and needs more time to break down the connective tissues. Return it to the oven, covered, with a bit of broth or water, and continue cooking at a low temperature until tender. For a dry roast, a flavorful sauce or gravy can be a lifesaver.
Simmer the roast slices in a rich beef broth, wine reduction, or your favorite sauce to reintroduce moisture and flavor. Remember, creativity and flexibility in the kitchen can transform a less-than-perfect dish into a comforting meal that still gathers everyone around the table with smiles.
FAQs:
Can I cook a chuck roast faster at a higher temperature?
Cooking a chuck roast at a higher temperature can lead to tougher, drier meat, so it’s best to stick to slow cooking methods.
Is it necessary to sear the meat before the oven?
Searing the meat before oven roasting is not mandatory but recommended for enhancing flavor and creating a delicious crust.
Can I add vegetables to the roast from the beginning?
Yes, adding vegetables like carrots and potatoes from the beginning will allow them to cook in the meat’s juices, enhancing their flavor.
How do I know when to add more liquid during the cooking process?
Check the liquid level halfway through cooking, and if it’s low, add more to prevent the meat from drying out.
What can I do with leftover cooking juices?
Leftover cooking juices can be strained and reduced to create a rich, flavorful gravy or sauce to accompany the meat.
Conclusion:
From selecting a well-marbled piece, preparing it with the right seasonings, and employing cooking methods like searing and braising, to understanding the importance of cooking time, temperature, and the rest period, each aspect plays a pivotal role in the success of the dish.
Serving the roast with complementary sides and presenting it appealingly enhances the dining experience. Even if challenges arise, such as the meat turning out too tough or dry, there are practical solutions to salvage your meal. Armed with these insights, tips, and troubleshooting strategies, you’re well-equipped to create delicious chop that will impress your guests and satisfy your culinary aspirations.